Technique 1: The Squash & Stretch Principle
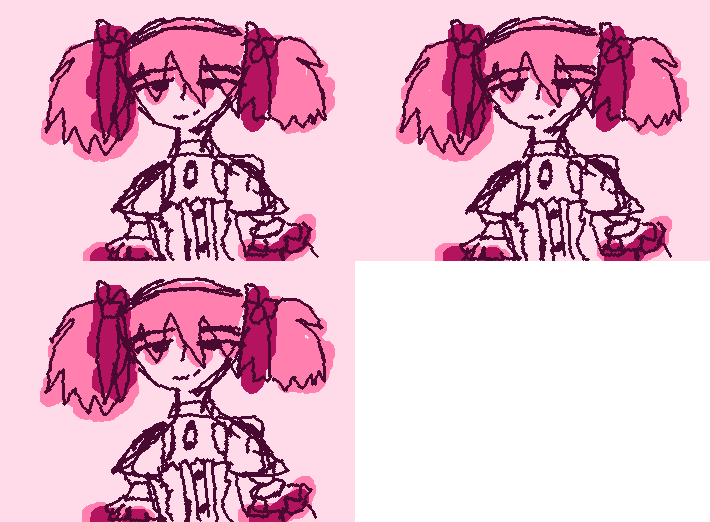
Squash and stretch is the foundation of animation. This technique gives your drawings weight, flexibility, and life. When an object moves, it doesn't stay perfectly rigid – it deforms slightly to show its physical properties. With WigglyPaint, Wiggle Paint, and Wiggles Paint techniques, you can create dynamic, lifelike animations.
How to Apply It:
- Think in extremes: When a ball bounces, squash it when it hits the ground and stretch it when it moves upward
- Maintain volume: When you squash something horizontally, stretch it vertically to keep the overall volume consistent
- Use it subtly: Even slight squashing and stretching can make simple movements feel more natural
Try This in WigglyPaint:
Draw a simple circle. In the next frame, make it wider and shorter (squash). In the following frame, make it taller and narrower (stretch). Play it back and watch how your simple circle suddenly feels alive!
Technique 2: Anticipation & Follow-Through
Great animation isn't just about the main action – it's about what happens before and after. Anticipation prepares viewers for movement, while follow-through shows the aftermath.
Anticipation Examples:
- A character crouching before jumping
- A rubber band pulling back before snapping
- A wind-up before throwing something
Follow-Through Examples:
- Hair continuing to move after a character stops
- Clothing settling after motion stops
- Water droplets continuing after a splash
Practice Exercise:
Draw a simple stick figure jumping. Create frames showing: 1) Crouch (anticipation), 2) Jump up, 3) Mid-air, 4) Landing, 5) Recover (follow-through). The difference will amaze you!
Technique 3: Arc & Natural Movement
Nature rarely moves in straight lines. Most natural movements follow arcs – think of a swinging pendulum, a thrown ball, or even the way your arm moves when waving.
Creating Natural Arcs:
- Study real movement: Watch how objects and people move in real life
- Use curved paths: Instead of straight lines between keyframes, think of curved trajectories
- Consider physics: Gravity, momentum, and other forces create natural arcs
Quick Exercise:
Animate a ball rolling down a hill. Instead of moving straight down, have it follow the curve of the hill, bouncing and following realistic arcs as it moves.
Technique 4: Timing & Spacing
Timing and spacing are the heartbeat of animation. The distance between frames and the speed of movement convey emotion, weight, and energy.
Key Principles:
- Slow in, slow out: Movements naturally accelerate and decelerate
- Spacing indicates speed: Wider spacing = faster movement, tighter spacing = slower movement
- Timing creates mood: Fast timing feels energetic, slow timing feels deliberate or heavy
Experiment:
Try animating the same simple movement (like a dot moving from left to right) with different timing. Notice how fast timing feels energetic while slow timing feels heavy or thoughtful.
Technique 5: Secondary Animation
Secondary animation adds detail and realism by animating elements that respond to the primary movement. These are the small details that make your animation feel polished and professional.
Common Secondary Elements:
- Hair and clothing: Move in response to body movement
- Accessories: Jewelry, hats, or other items that bounce or sway
- Environmental effects: Dust, particles, or other elements affected by movement
- Facial expressions: Changes that accompany body movements
Advanced Practice:
Draw a character with hair. Animate them walking – the primary action is the walking, but add secondary animation by making the hair bounce and sway in response to the movement.
Pro Tips for Beginners
Start Simple
Don't try to animate complex scenes right away. Master these techniques with simple shapes and movements first. A bouncing ball teaches you more than you'd think!
Use Reference
Watch real-life movements, study professional animations, and use reference materials. The more you observe, the better your animations will become.
Embrace Imperfection
Your first animations won't be perfect – and that's okay! Every animator starts somewhere. The key is to keep practicing and learning from each attempt.
Get Feedback
Share your work with others and be open to constructive criticism. Animation is a collaborative art form, and feedback helps you grow.
Your Next Steps with Wiggle Paint
Now that you understand these essential techniques, it's time to put them into practice! Here's how to get started with WigglyPaint and Wiggles Paint styles:
1. Open WigglyPaint
Start drawing right in your browser – no downloads required!
2. Try Each Technique
Practice one technique at a time with simple drawings.
3. Combine Techniques
Once comfortable, try combining multiple techniques in one animation.
4. Share Your Work
Export your creations as GIFs and share them with friends!
Ready to Start Animating?
Join thousands of artists who are already creating amazing animated artwork with WigglyPaint. It's free, it's fun, and you can start right now!
Start Drawing for Free →